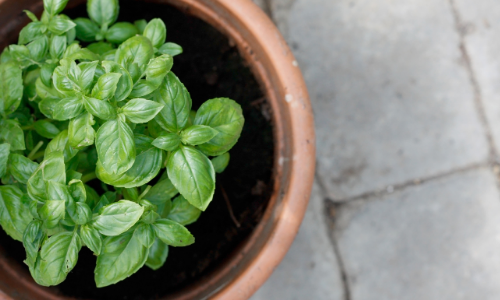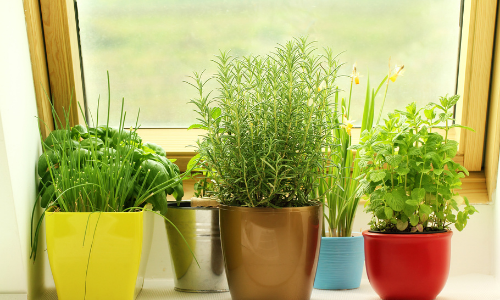
3 Ways to Get Started Growing Your Own Food Today
Learning how to grow your own food can be tricky, especially if you’re in an apartment or a rental house (or even just a tiny house that you own). Sometimes it can feel like you need a large outdoor space to get started, but today…