Growing and harvesting microgreens is one of the easier ways to get started growing your own food. Microgreens are super healthy, and add a lot of flavor to salads, sandwiches, and more!
We love growing and harvesting microgreens at home. So, today we’re covering why we love them, and how to grow and harvest them yourself.
Table of Contents
Methods for Growing Microgreens at Home
We’re going to cover two methods for growing microgreens at home.
Microgreens Kit
One method of growing microgreens at home is to use a pre made kit, like the kit from Hamama.
There are several pro’s to using a kit, the main ones being that all the materials you need will come in the kit. Beginners often find kits easier because everything is set up for them and come with easy to follow directions.
Hamama in particular does a good job of making it easy for beginners to get started growing microgreens. Each kit comes with easy to follow directions and a straightforward setup.
Additionally, Hamama offers a subscription option to deliver new seed quilts to you monthly if you want to receive regular shipments of new seeds.
We’ve done a full review of Hamama’s kits here, or you can read this article for a full comparison between different microgreen kits.
DIY Method
The other method, which is what we'll cover for the remainder of this article is what we're calling a DIY method.
This method involves purchasing your own materials individually. The biggest advantage of this method is you'll likely get a better price when purchasing your own individual materials. You'll likely get microgreen seeds at a much lower price, which once you get the initial setup complete this is the only recurring expense for growing microgreens at home.
However, a DIY method is less convenient than a microgreens growing kit. Additionally, some beginners can find it intimidating to purchase their own materials individually and creating a setup themselves.
We'll cover the materials needed and steps to growing microgreens later on in this article.
Why grow and harvest microgreens yourself?
Let's go over some reasons why you might be interested in growing and harvesting microgreens at home.
Short grow cycle
Growing microgreens is super satisfying, especially for new gardeners because the grow cycle is roughly 7-10 days. You can grow these time and time again and have fresh microgreens grown every week!
Can be grown any time of the year
For avid gardeners, and those without a way to sufficiently grow food indoors, winter months can be a desolate time for gardening. Growing and harvesting microgreens can be done at any time of the year, so they're especially nice to grow in the winter months! This means even in a traditional off season you can continue to grow fresh vegetables at home.
Easy way to add fresh vegetables to a dish
Microgreens are a super food, and therefore very nutritious to add to dishes! They make great salad toppers, sandwich toppings, and more! Scroll to the bottom of this article to read more ideas on how to incorporate microgreens into your diet.
What you'll need
Lets cover what you'll need to grow and harvest microgreens at home.
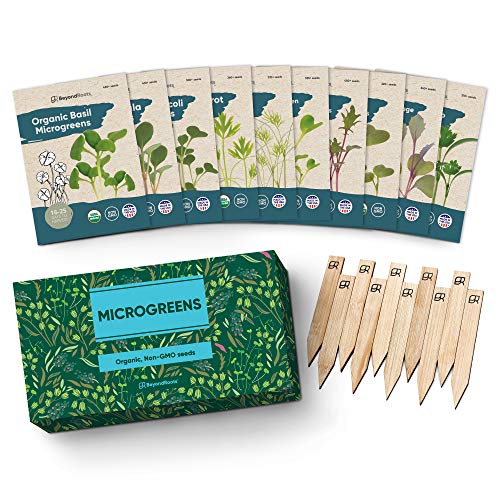
Seed Mix
The most important part of the project - your seed mix! You can really grow a wide variety of seeds. If you've never tried microgreens before and are unsure where to start - we recommend a variety pack to get you started. Beyond Roots has a pack of 10 different USDA organic seeds, including dill, arugula, broccoli, daikon radish microgreens, and more!
A small pot or dish
The dish you use to grow your seeds should preferably be shallow, but with enough depth for roots to reach a height of 1 inch. It can be as large or small as you want - it all depends on how much you want to grow at one time! You can even use jars, mugs, or traditional terracotta pots.
Gravel for drainage
This step is optional, but if you have chosen a pot that does not have drainage holes then you'll want to put a layer of gravel or pebbles to ensure that there will be adequate drainage for your microgreens.
Spray bottle
To avoid over watering you'll need a spray bottle to lightly mist your seeds.
Indoor Potting Soil
There are multiple grow mediums you can use when growing and harvesting microgreens, however your standard potting soil is probably the best option.
Coco peat, or coco coir is another popular growing medium but it can be a little more difficult than traditional potting soil, so if you're a beginner we recommend starting with soil. However, if you have some coco peat lying around that you want to use up, this can be a good option to avoid buying multiple items.
Burlap is also sometimes used in microgreens, and is very affordable. However burlap is more difficult to work with as a grow medium, and part of the beauty of growing microgreens is that its an easy and simple process. Why overcomplicate that?
We recommend a potting soil like the Burpee Premium Potting Mix for growing and harvesting microgreens. Its full of high quality nutrients and Burpee plant food, and has coco coir mixed in to help provide extra nutrients and drainage.
How to Grow Microgreens
Next, lets go over the steps for growing and harvesting microgreens at home.
Step 1 - set up your planter
The first step to growing microgreens is to set up your planter. If there are no drainage holes - lay the gravel down at the bottom of your pot. A thin layer is fine here, you want just enough to keep your plant's roots out of the water that will sit at the bottom of your pot.
Then add the soil. You want at least 1.5 inches of soil on top of the gravel. Remember the roots of microgreens grow up to approximately 1 inch, so you'll want a little extra room to ensure they have the space they need to thrive.
Step 2 - Plant your seeds
You've set up your planter - now you're ready to go! Spread the seeds across the soil and lightly press them into the soil. No need to bury them, and do your best not to over compress the soil. Light pressure is just enough to help keep them in place while growing.
Step 3 - Water your seeds
Water your seeds with a spray bottle and make sure the soil is thoroughly moist. Then cover your container with plastic wrap. From there - continue watering daily in a similar fashion to ensure the soil stays moist.
Once your seeds have germinated you can remove the plastic wrap.
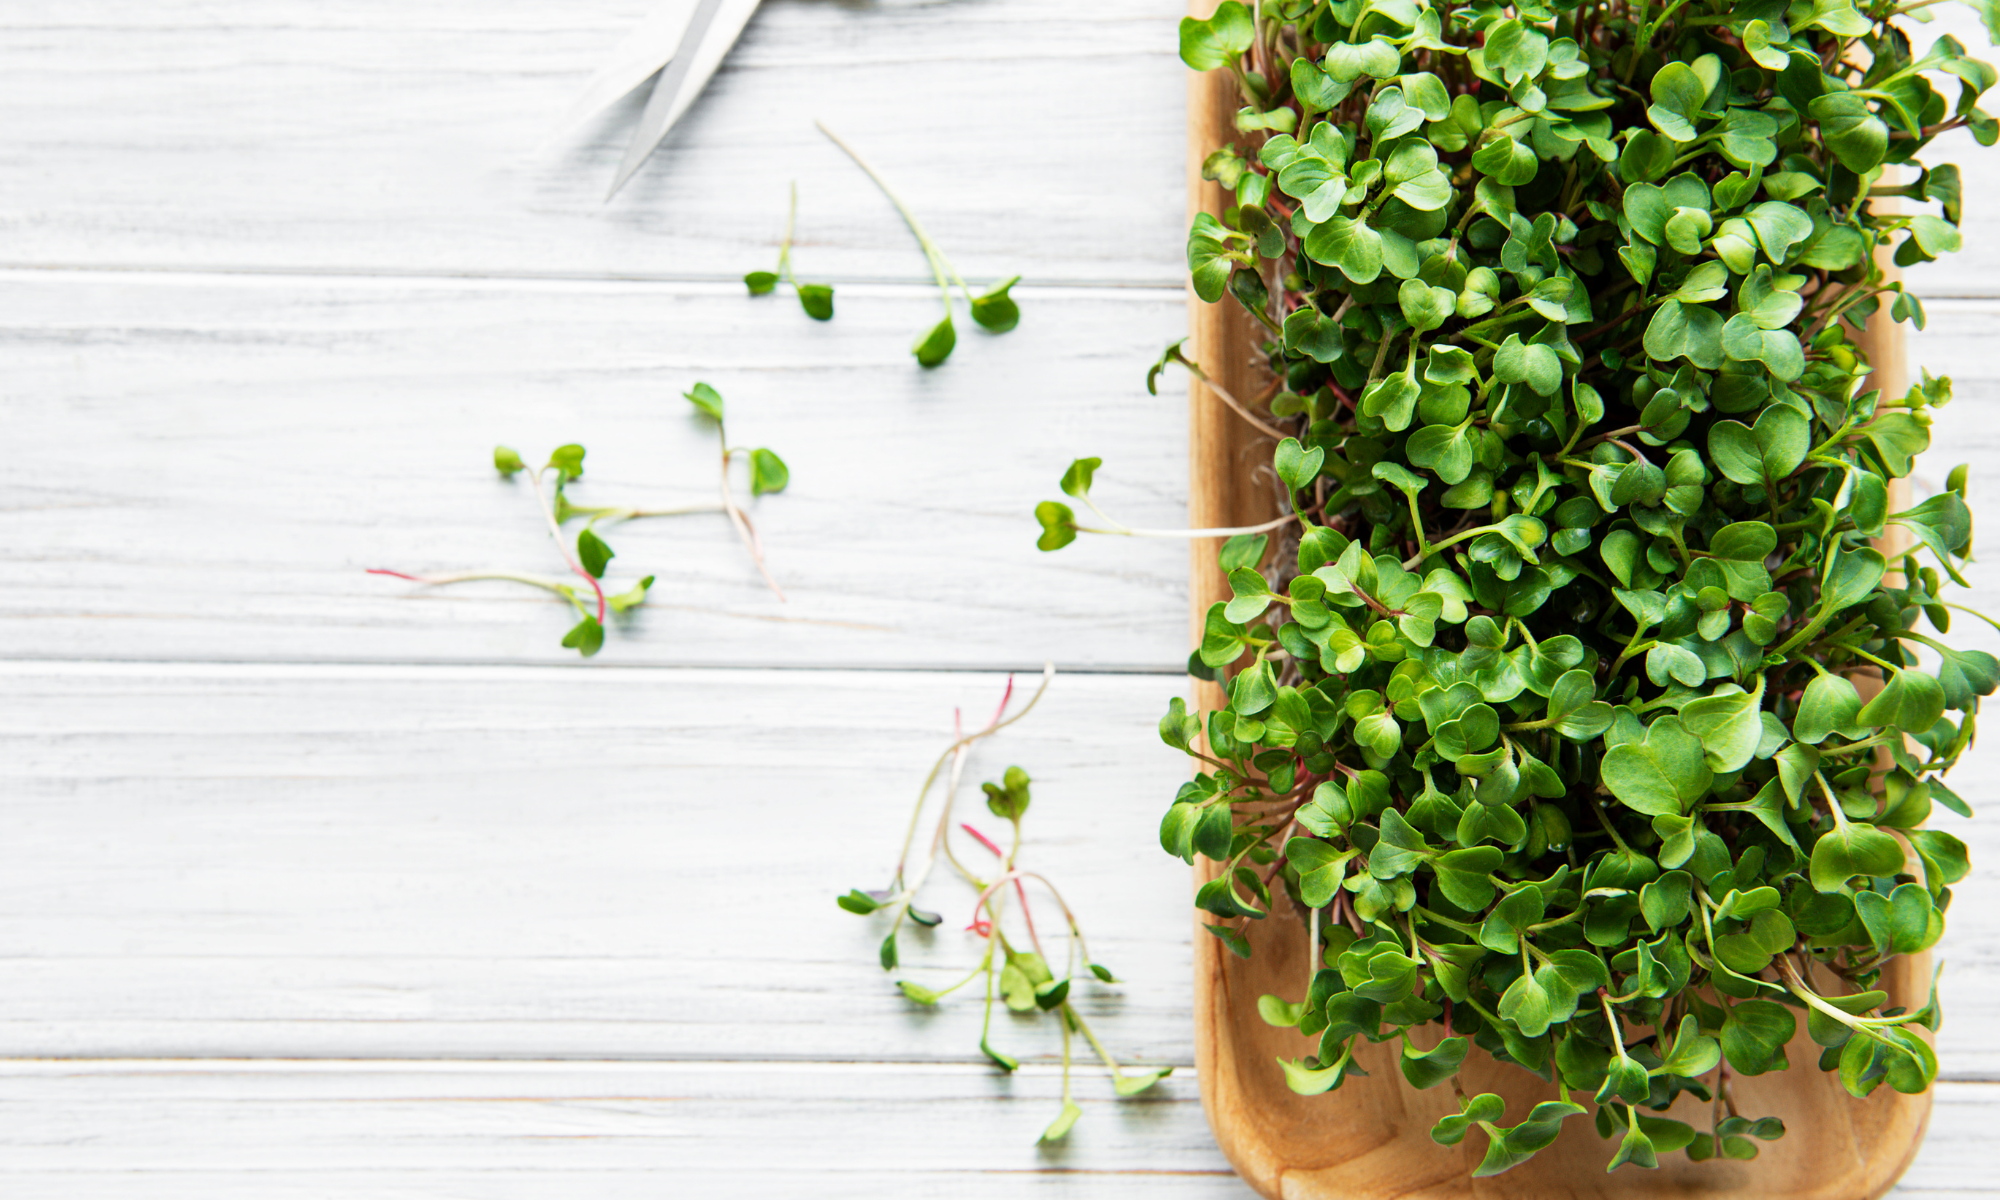
Harvesting Microgreens
After 7-10 days your microgreens are fully grown! They should be 1-3 inches in height by this point, and are ready to be harvested and eaten! To harvest, simply take scissors and cut at the bottom of the root (above the dirt) and put them on your plate, they're ready to eat!
Ways to Use them
There are a number of ways to add microgreens into your favorite dishes that you're already making - here are some of our favorite ways:
- Salad toppings - add on top of your favorite salad for a quick nutritional boost!
- Sandwich toppings - adding microgreens gives a sandwich a nice crunch and texture
- Soup garnishes - we love microgreens on top of soups, especially tomato or butternut squash soup
- Sushi topper - add microgreens to your favorite roll for some fresh flavor (spicy mustard greens are great here - they add a wasabi-like flavor to your roll)
Do you have other ways you like to incorporate microgreens into your diet? Let us know in the comments below!
Frequently Asked Questions
How much light do microgreens need?
Microgreens are fairly flexible and forgiving with light. For the best results, we recommend 4-6 hours of daylight. However, if you have slightly less or more, don't worry - these guys will adapt! If you have very little natural light in the room you're planning on growing them in, you can always supplement with a grow light.