Sprouts are one of the easiest items to grow and have a super short harvest timeline, making them excellent for beginners! They’re packed full of nutrients too and can be used in a variety of ways, such as salad toppings, sandwich ingredients, etc.
Keep reading for our beginner friendly step by step guide on how to grow your sprouts in a jar.
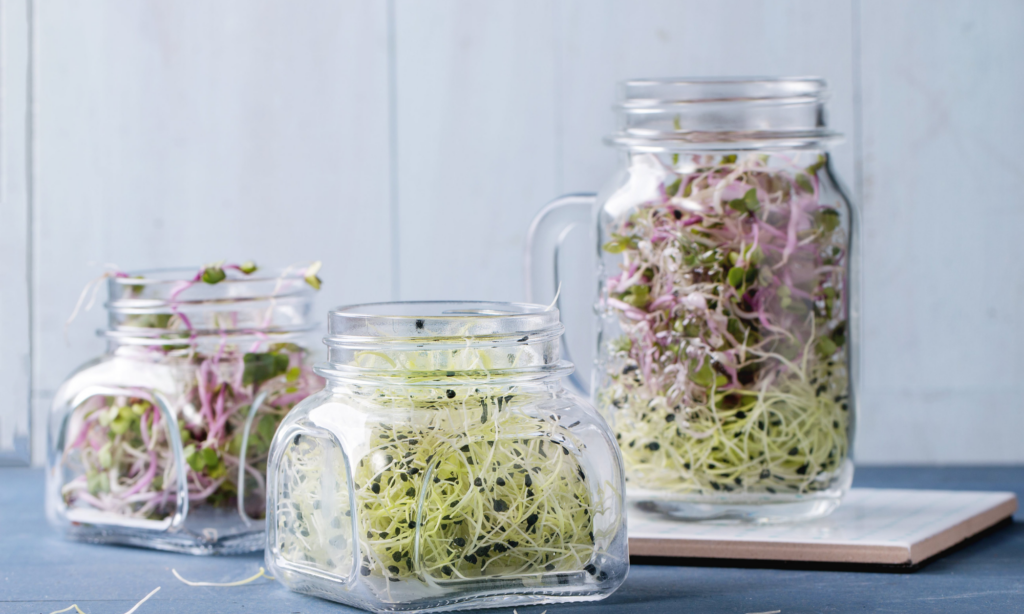
Table of Contents
Getting the Right Set Up
In this article we’re largely covering a DIY method. By this, we mean we’re going over how to grow sprouts with items you likely already have in your kitchen.
If, by chance you do not have these items or you want a quick, simple set up to purchase, you can purchase a sprout growing kit instead.
These kits are fairly affordable and usually under $30. We love this one from Amazon if you’re looking for a one stop shop for setting up your sprout growing system.

DIY Method – What you’ll need
- Wide mouthed jars (jars with canning lids are ideal)
- Cheese cloth, or fine mesh screen
- Sprout seeds of choice – we love this organic variety pack
- Rubber band (optional depending on choice of jar
Step 1: Place Sprout Seeds in a Jar & Cover with Water
Start by placing your sprout seeds in your jar. We recommend putting 1-2 tablespoons of sprout seeds to start, but you can always adjust according to your needs once you know how many sprouts you want.
After you’ve placed the seeds in the jar, cover with 2 inches of warm water. Let sit overnight.
Step 2: Drain Sprouts & Rinse
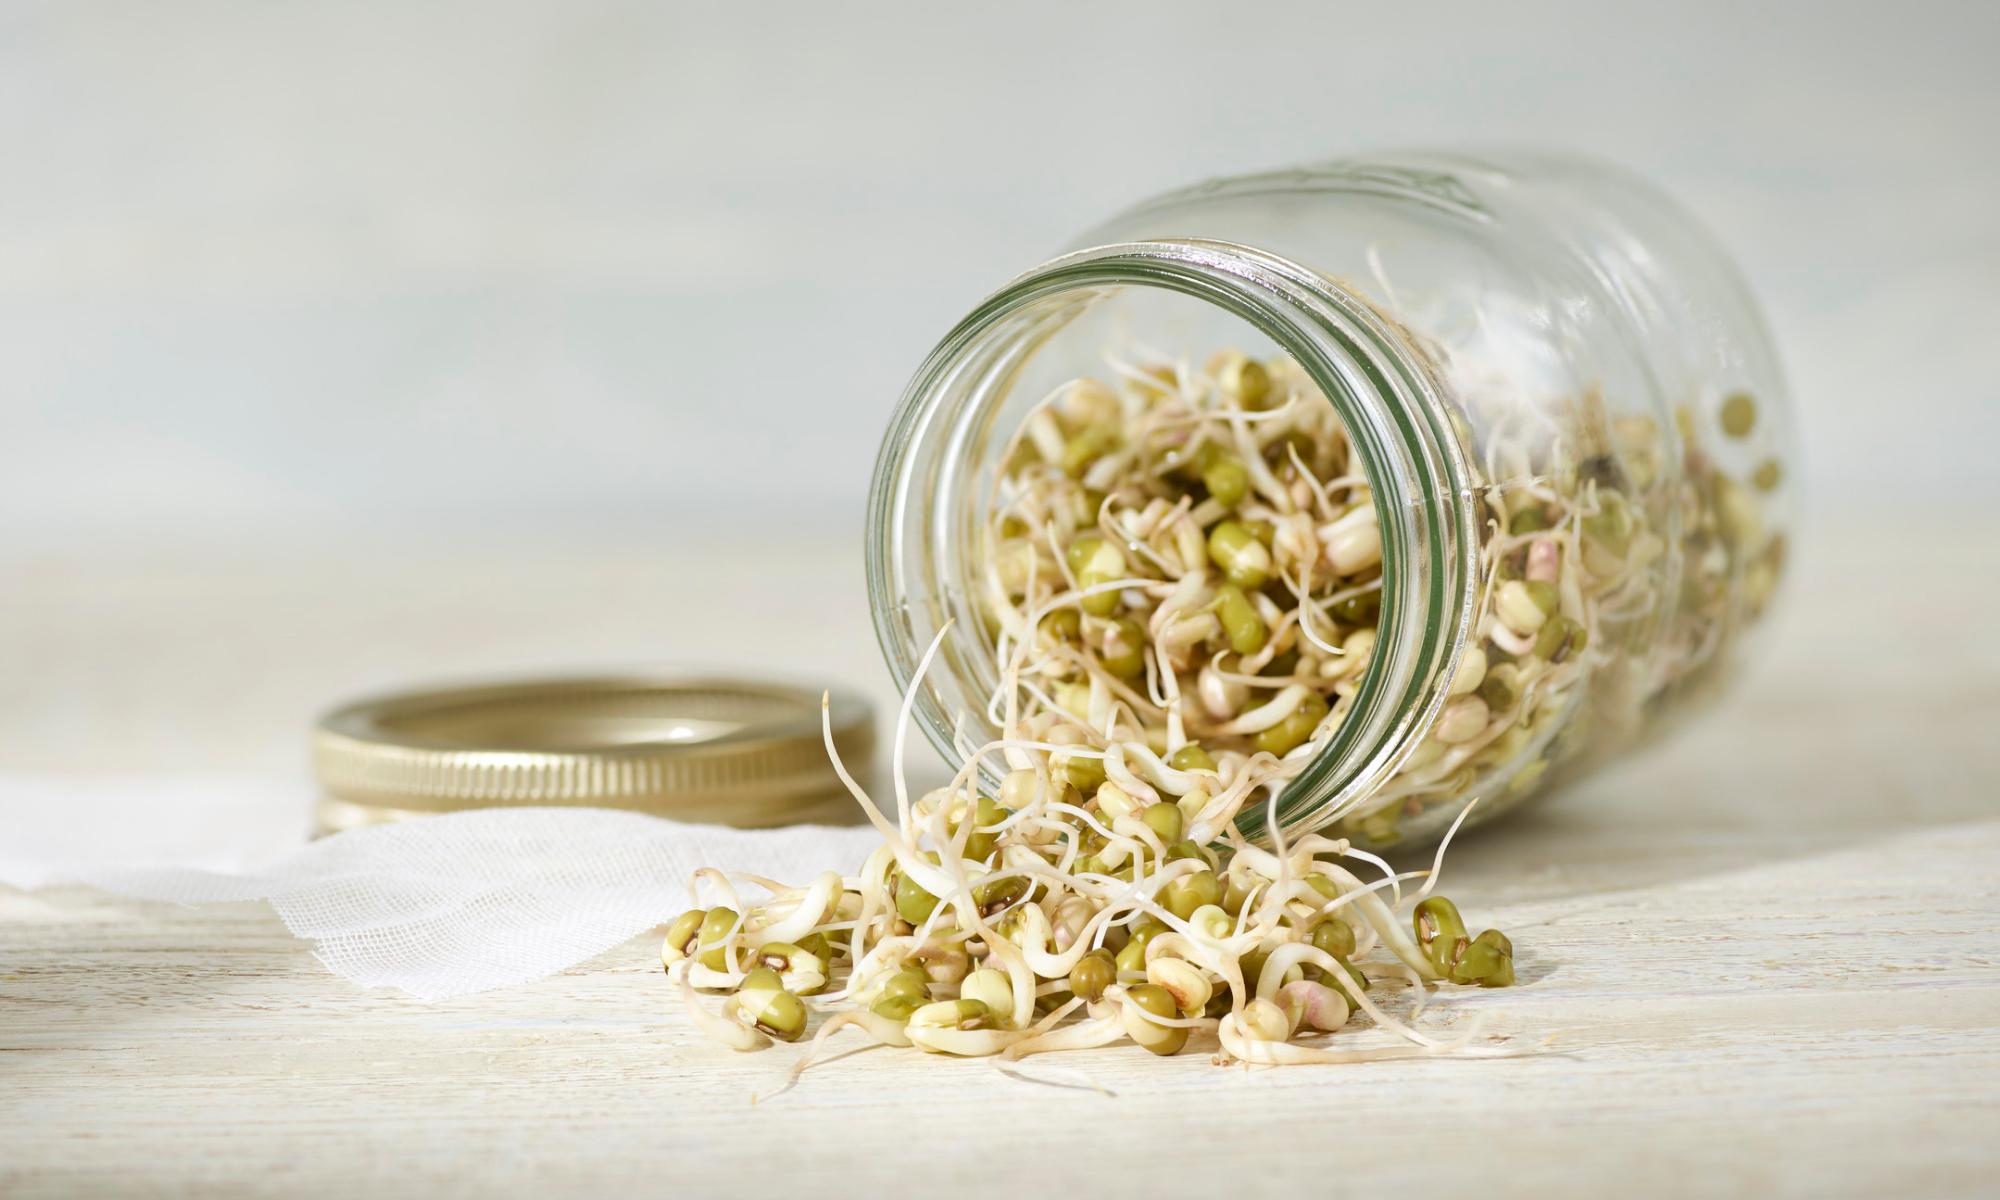
The next day, you’ll place either the cheesecloth or fine mesh screen over top of your jar. Secure either with rubber band, or if you’re using a jar with a canning lid, screw the top of your lid onto the jar without the middle section to secure.
Alternatively, you can also purchase sprouting jar lids to avoid the hassle of the DIY method.
From here, dump out old water, add new water to the jar and swish around to ensure all seeds are rinsed. Drain water out of jar.
Step 3: Repeat!
From here, you’ll repeat this process until sprouts begin to grow. Depending on the variety you chose, this process could take 3-7 days. We recommend rinsing and draining 2-4 times per day to ensure sprouts are fresh.
Sprouts are best harvested right as they turn green. To store, we recommend keeping them in a covered container with a paper towel to absorb the excess moisture. Sprouts are best eaten within the week after they’re ready.
How do you use sprouts in your meals? We’d love to know! Let us know in the comments below!
Looking for more ways to grow your own food? Microgreens are another great option to quickly grow food at home. Check out our recent post on how to grow and harvest microgreens at home for more info!
Uses for your Sprouts
There’s a wide variety of uses for sprouts and ways to incorporate them into your diet. Sprouts are full of vitamins and nutrients, similar to vegetables but in an even more condensed form than a lot of vegetable varieties.
Some easy ways to use your sprouts include using them as sandwich toppings, garnishes on soups, salad toppings, etc. You could also always eat them plain, which is one of our personal favorites! You can also add them to smoothies for some added nutrition.
Best Sprout Mixes
If you’re just starting out sprouting, you may not be sure what mix is best.
There are many varieties to pick from and the range of options might be slightly overwhelming.
Each person will have their own personal taste, so we recommend trying a sampler pack before purchasing a large quantity of sprouts of any one specific type. This will give you the chance to try a bunch of flavors and figure out what you like best.
This seed mix pack from the Sprout House is one of our favorites, and what we’d recommend to newbies to get started.

Other Tips
Growing sprouts in a jar is fairly simple and straight forward. The main caution for first time growers is to be sure to continuously rinse the seeds and ensure you do so thoroughly. This is to prevent your sprouts from molding, which would make them inedible. Other than that your sprouts should be fairly resilient. They can grow with varying levels of light, so feel free to keep them wherever is convenient for you.
I do not even know how I ended up here, but I thought this post was good.
I do not know who you are but definitely you’re going to a famous blogger if you aren’t already 😉 Cheers!
Thanks for the comment! We’re glad you’re enjoying our content. Let us know if you have any topic requests or questions!