Tag: beginner guide

3 Ways to Get Started Growing Your Own Food Today

3 Ways to Get Started Growing Your Own Food Today

Learning how to grow your own food can be tricky, especially if you’re in an apartment or a rental house (or even just a tiny house that you own). Sometimes it can feel like you need a large outdoor space to get started, but today…
The Ultimate Guide to Growing Mint at Home

The Ultimate Guide to Growing Mint at Home

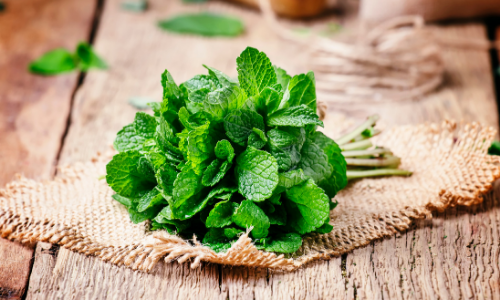
Growing mint at home is one of the most popular ways for beginners to start their herb garden. Mint is one of the most well-known and popular herbs known today. From Asia to Australia, many expert gardeners and botanists enjoy growing this herb because of…

How to Start an Herb Garden on Your Balcony

How to Start an Herb Garden on Your Balcony

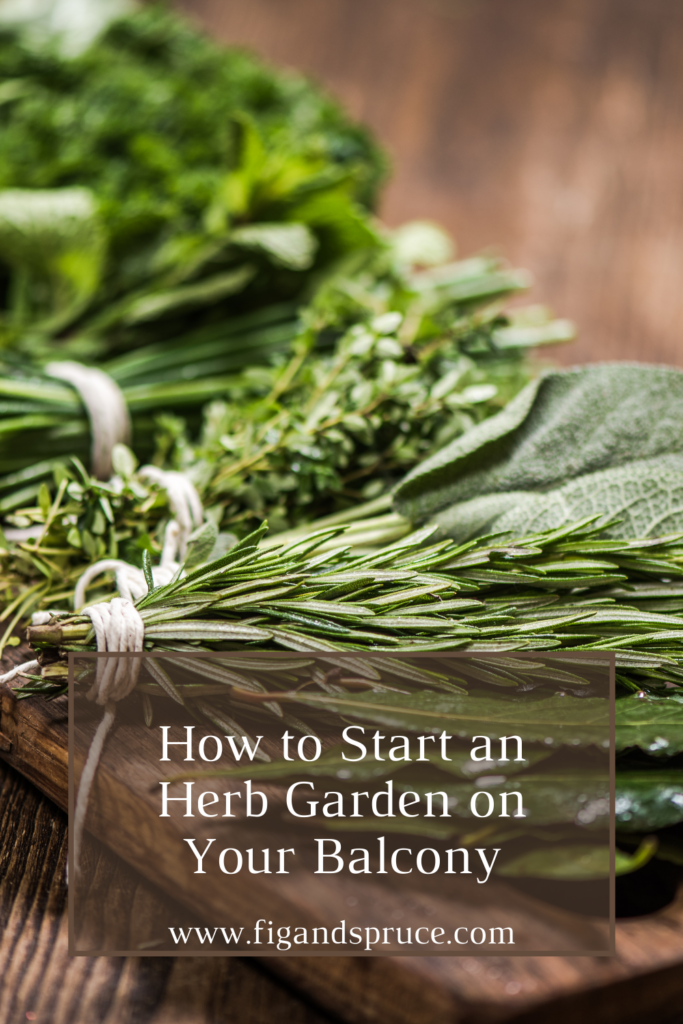
Ever thought about starting an herb garden on your balcony, but not sure where to begin?

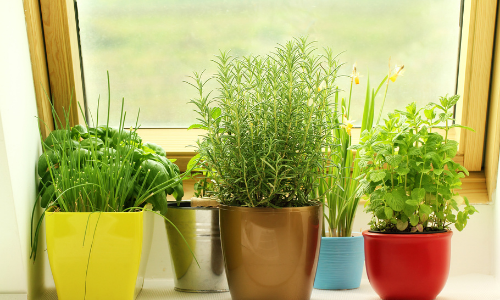
Herbs are one of the easier categories of plants for beginners to start with. They usually grow relatively fast compared to other fruits or vegetables, and provide a lot of fresh flavors to enhance your cooking with. They can also be grown in small spaces, both indoors and outdoors!

Today we’re covering how to start an herb garden on your balcony, but you could easily move this indoors to a plant stand or kitchen counter. You would want to consider how much natural light is available though, and if you should invest in a grow light for the space you plant to work in.

Selecting Your Plants

What to Consider

Before we jump into the “how” of how to start an herb garden on your balcony, lets look at several factors that you should consider in your set up.

Natural Light Available

You may get direct sunlight on your balcony, but many times balconies get partial natural light or are primarily in the shade for most of the day. If this is the case for you, depending on what type of herb you’re planning to plant you may want to consider investing in a grow light for your space.

For tiny spaces, we recommend one like this one off of Amazon. But for a full comparison, check out our article on the best grow lights for tiny spaces.

Weather

Depending on the herbs you’re planning to use, you may need to keep the local weather in mind. Rosemary, for example, can thrive in a wide variety of temperatures and weather. Basil, on the other hand, needs warmer weather to thrive.

Should you start from Seeds?

Short answer is its definitely doable. For total plant beginners though, we recommend you head over to your local nursery and pick up some plants that to transplant into your pots.

This will help speed along the process by cutting out the time for seeds to sprout and grow. Seeds are also much more fragile and more likely to have something go astray. This will help ensure your success on your first gardening adventure.

Easiest Plants for Beginners

We don’t want to deter you from any of your favorite herbs, so if what you want isnt on this list dont be discouraged! We’ve picked some of our favorites for beginners though to help get you started.

  1. Rosemary – a very hearty herb that can adapt to multiple environments.
  2. Parsley – very versatile and can adapt to varying levels of sunlight. They also transplant well.
  3. Sage – another hearty plant that can deal with a wide range of weather
  4. Cilantro – another popular herb in many cuisines, this is a great plant for beginners to start with
  5. Basil – Basil may not be the easiest plant for newbies, but its one of the most popular herbs and works so well in a variety of recipes. If you purchase a plant rather than growing from a seed basil is a relatively easy herb to care for.

What You’ll Need

Pots

Of course, you’ll have to pick out some pots for your new garden. Wherever you pick up your plants will most likely have plenty of options for cute planters. If you’re looking for a basic and affordable option, this set of 3 planters is a great option to get you started.

If you’re working in a super small space, you may also want to consider a plant stand.

Seeds vs Transplants

If you do choose to start your herb garden from seeds, we recommend this seed mix packet.

However, as we discussed earlier, we recommend for complete beginners to start with plants to transplant into your garden. This will give you the best chance for success on your first gardening endeavor.

Potting Soil

There are many types of potting soil out there, but our personal favorite is Fox Farm’s potting soil. Its rich in nutrients that will help your plants thrive and is moderately priced compared to some of its competitors.

Drainage

Many herbs will require good drainage to thrive. The tag that comes with your herb plant when you purchase it will describe the specific needs for each herb.

Good drainage can be achieved in a couple of different ways. One of the easiest is to ensure that your planters have holes in the bottom to allow water to flow through. However, if you have your heart set on a specific planter without drainage holes already in them, you can add gravel to the bottom of each planter to help aid in draining the water off or your plants roots.

Another way to achieve good drainage is to use a grow bag instead of a traditional pot for your plants. Grow bags help ensure ample drainage and provide better aeration for plants’ roots.

Grow Lights

As we briefly mentioned earlier, if your herbs need full sunlight and your balcony is partially or mostly shaded, consider adding a grow light to your garden. For a full comparison on different grow lights – check out our post on the best grow lights for small spaces.

Steps to planting your herb garden

Now – to get to how to start a herb garden on your balcony!

  • Step 1 – place any drainage medium that you’ve chosen at the bottom of your planters
  • Step 2 – fill your planters 3/4 of the way full of potting soil, and scoop some empty space so that there’s room for your plant to fit into the planter comfortably. You’ll want to ensure that the potting soil is covering the sides of your planter too.
  • Step 3 – gently squeeze the sides of your plant’s temporary plastic planter (what came with it when you bought it). This will help ensure that the plant comes out of the temporary planter easily without damaging any roots. It will also loosen the roots a bit if the plant is root bound at all in the temporary container.
  • Step 4 – Gently slide your plant out of its container and place it in the hole you created in the planter with potting soil
  • Step 5 – Empty any dirt from the temporary container into your planter. By ensuring that the old dirt is incorporated into the new pot it will help reduce the shock to your plant.
  • Step 6 – Gently press the soil around your plant to ensure everything is secure
  • Step 7 – That’s it! Give your new herbs a good watering to help them settle in and place them in their new home! You’ll want to set up any grow lights necessary and ensure they have the right environment to thrive. Continue to monitor and water as appropriate for your specific herbs! The tags on the plant that come with it when you buy it will specify what exactly each type of plant needs.