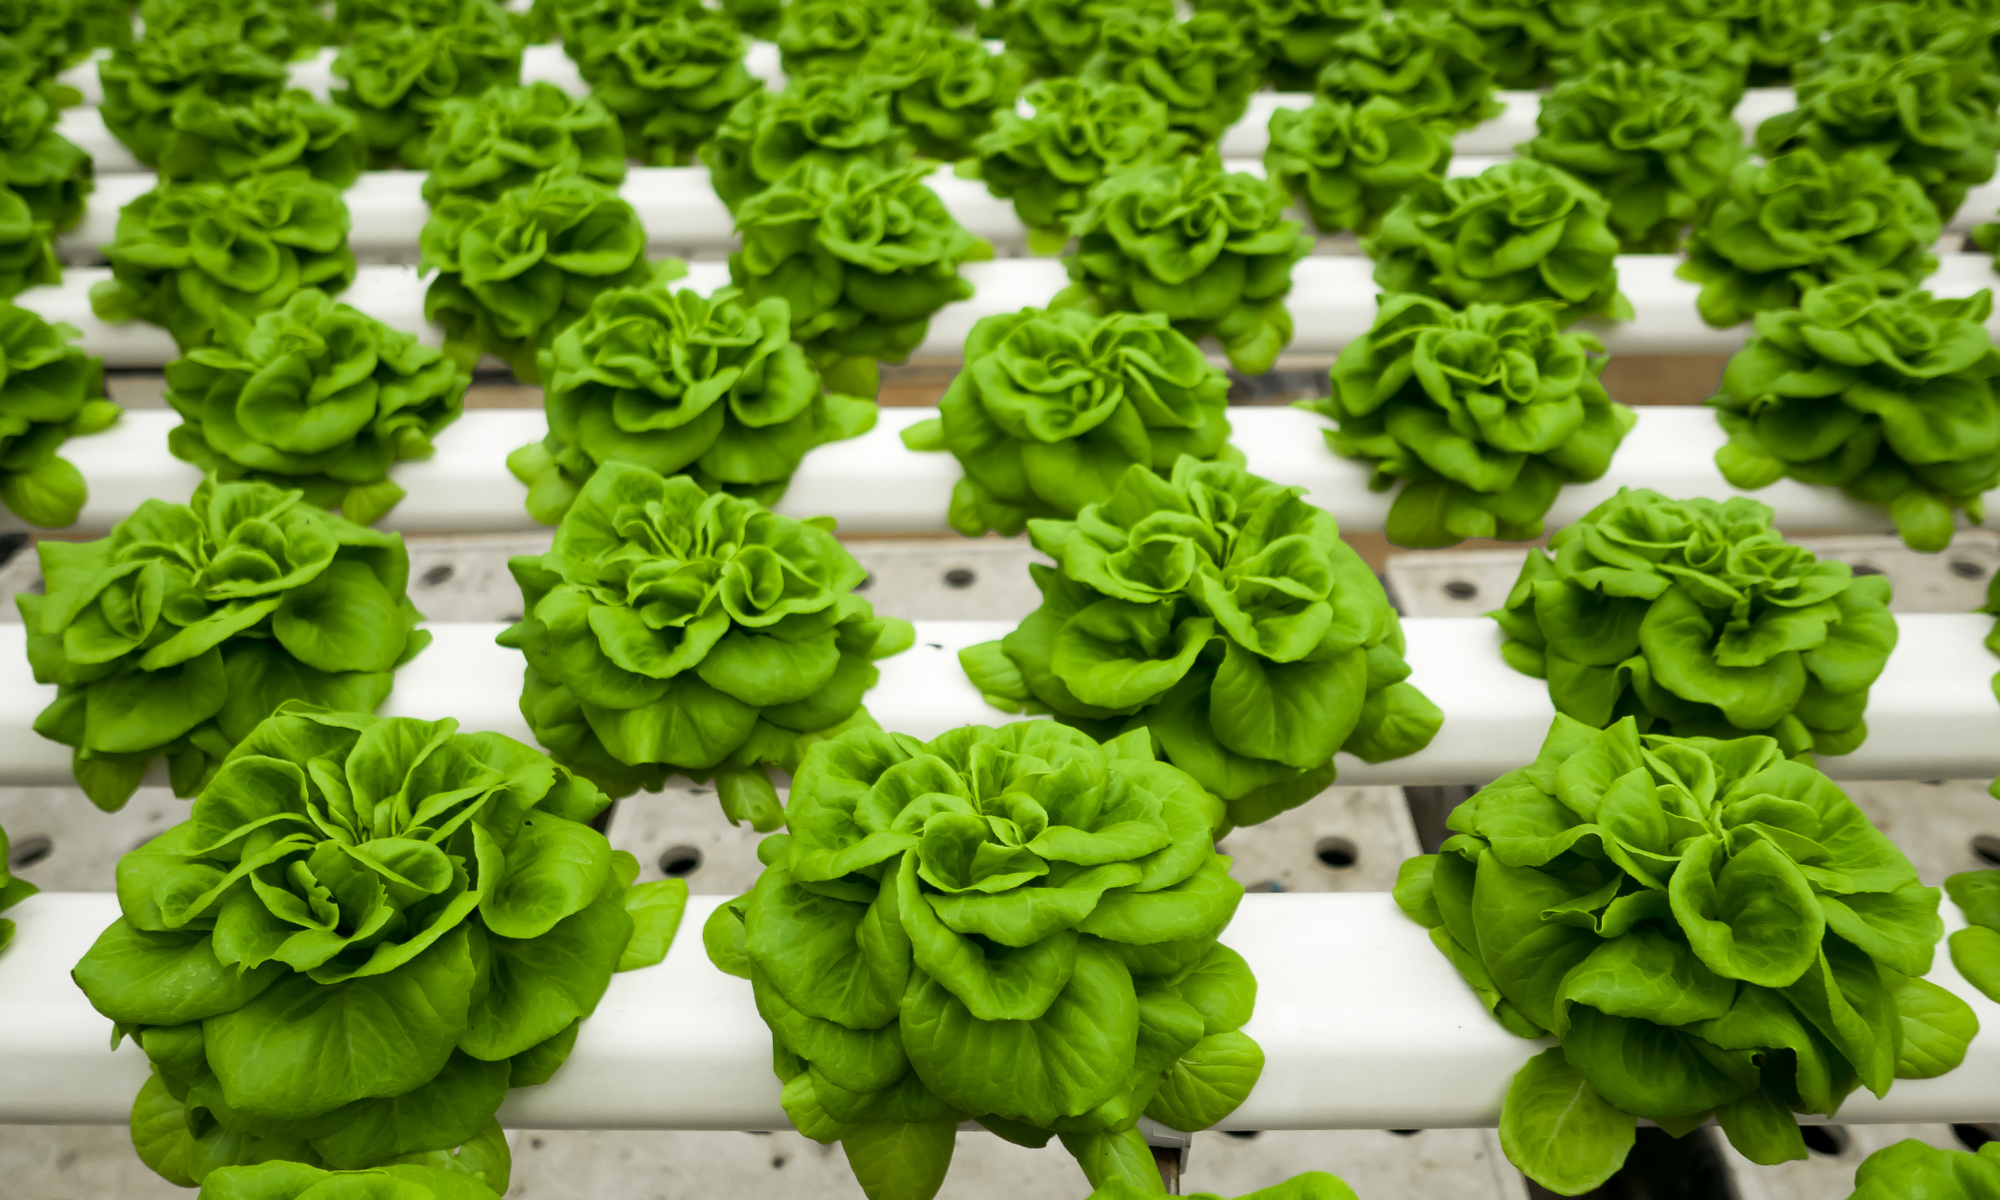
The Best Hydroponic Fertilizer – A Complete Buyers Guide
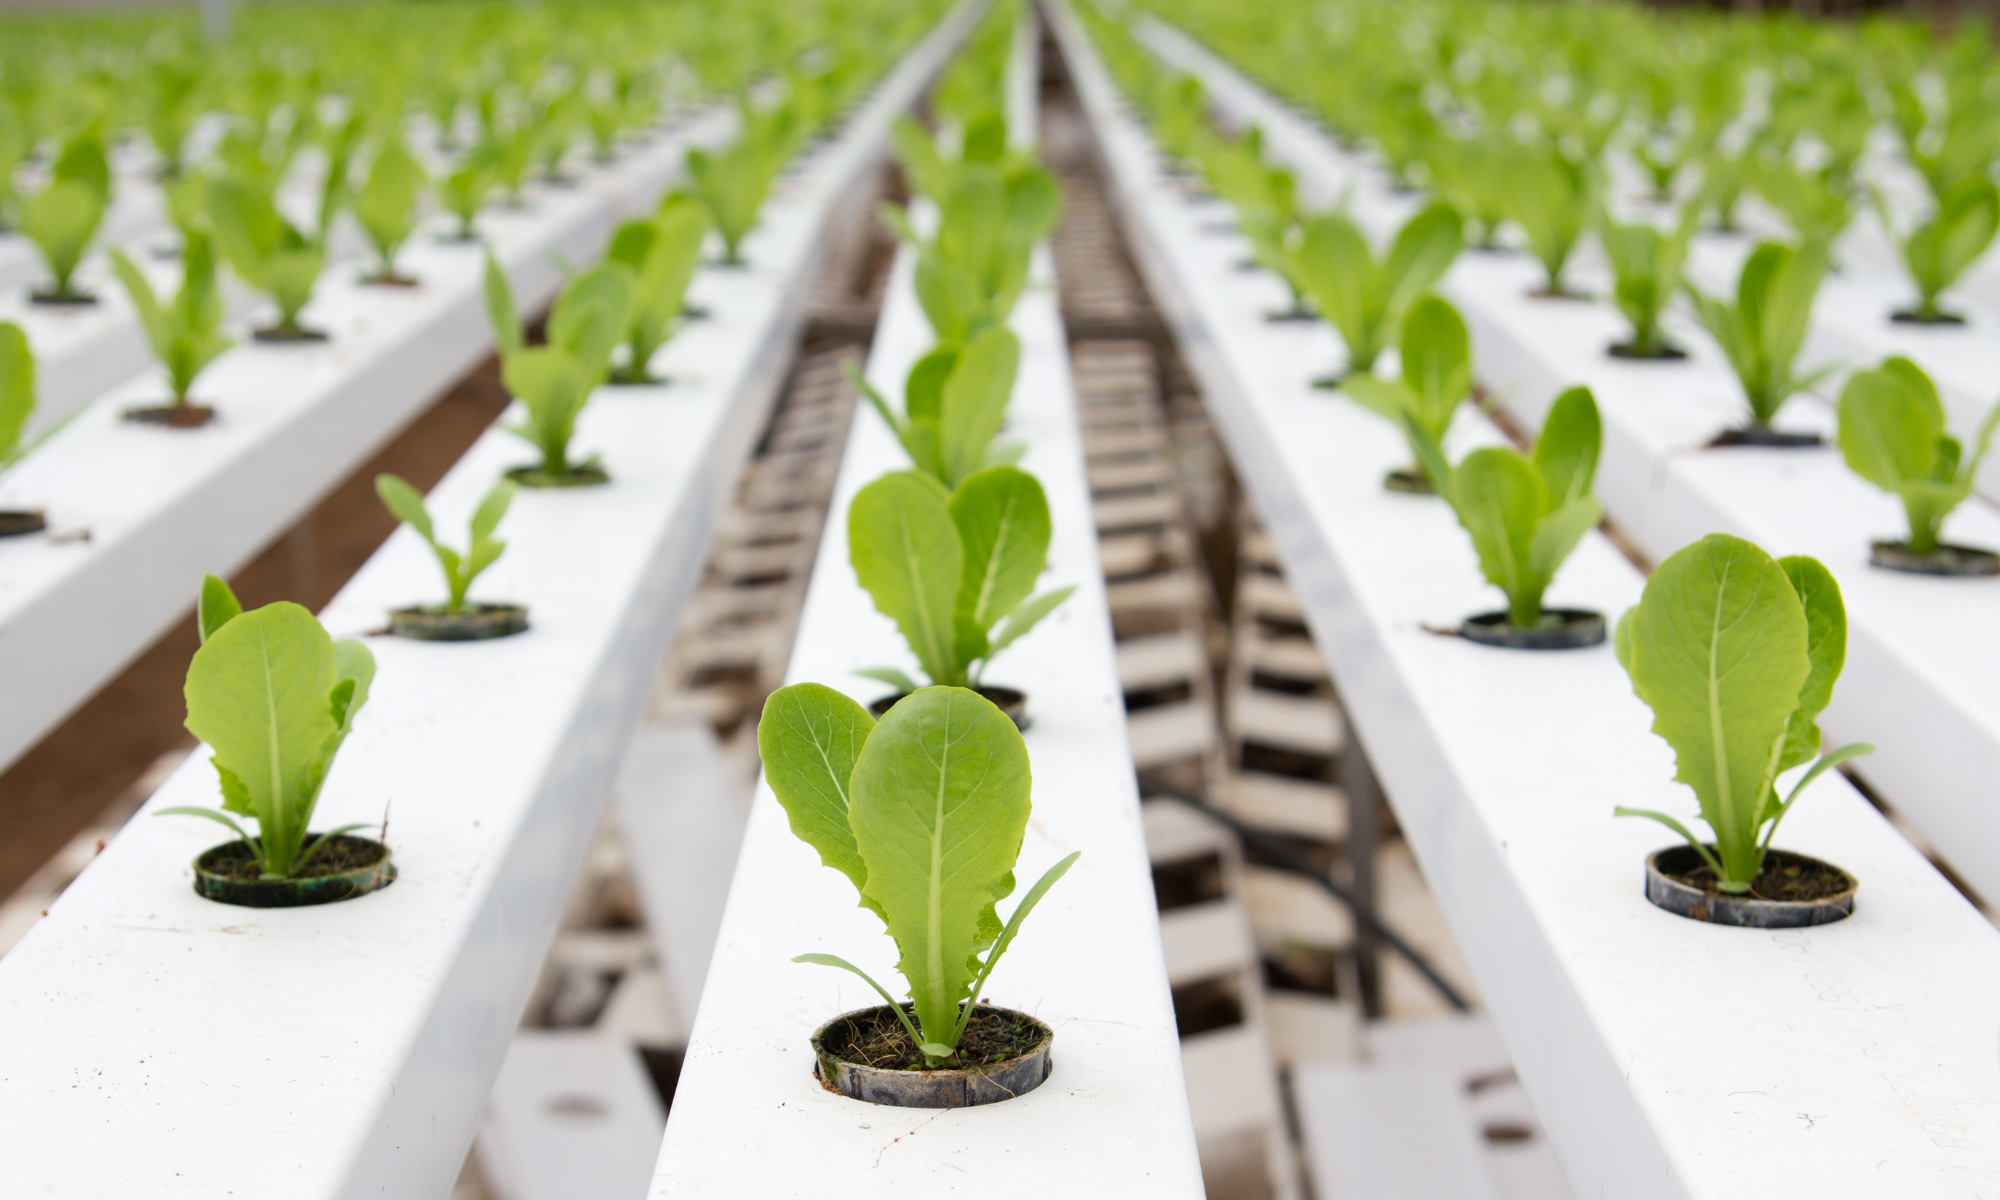
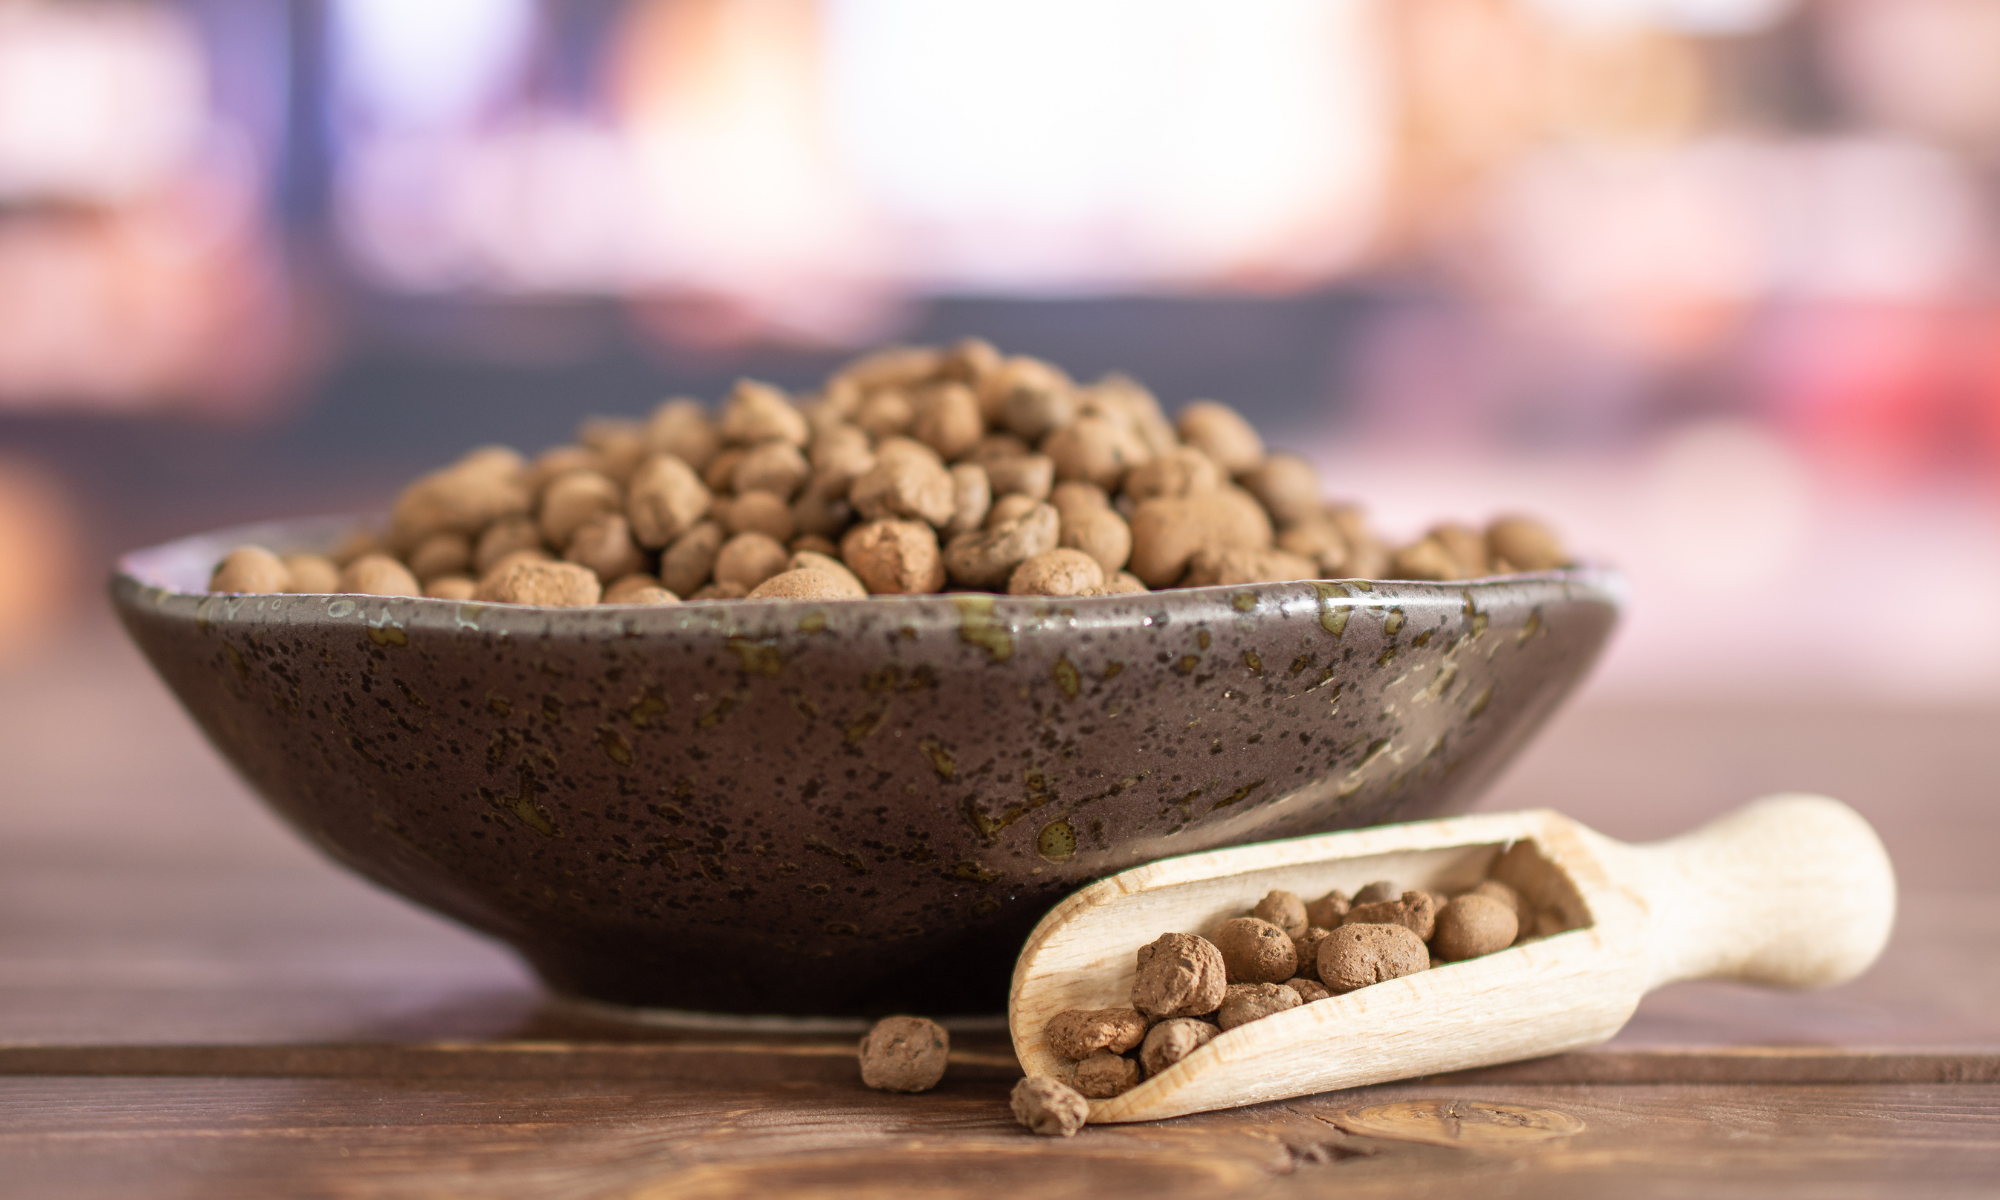
You’ve got your hydroponic grow system picked out – what next? Aside from your seeds and grow medium, you’ll probably also need some hydroponic fertilizer. Today we’re covering our top picks for hydroponic fertilizer (especially ones that are beginner friendly!), how to use them, and…