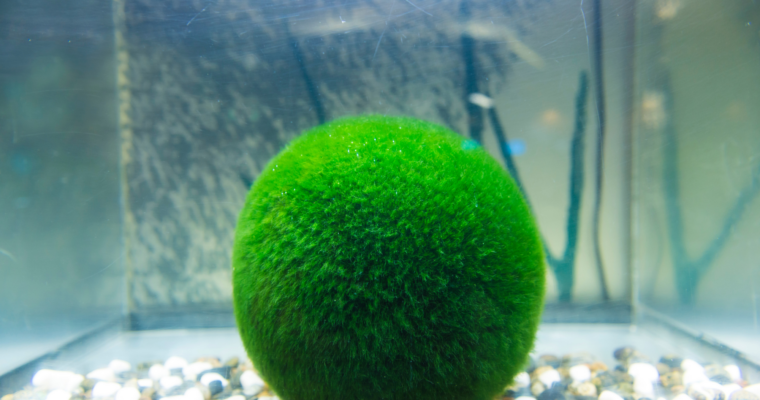
How to Create a Marimo Moss Ball Terrarium
Ever thought about getting a Marimo moss ball? They’ve definitely grown in popularity over the past few years. A Marimo moss ball is a type of plant (we like to think of it as a pet) that lives in water. The word Marimo is actually…